
✅ Minecraft versions: 1.21.1 - 1.21, 1.20.2 - 1.20 1.19.4 - 1.19, 1.18.2 - 1.18, 1.17.1 - 1.16

✅ Author: IMS21

📦 Download Iris Shaders
Do you love shaders, but don’t know how to install them? Ever wondered how to install Iris Shaders and Shaders for Minecraft 1.21.1? Then this is the post for you: in this post you will find a detailed tutorial on how to install Iris Shaders and use shaders in Minecraft 1.21!
To use shaders, you will need Iris Shaders, and a good shaderpack.
If you need any good shaders to go with your new Iris Shaders installation – keep browsing shaderpacks.net!
Install Iris Shaders for Minecraft 1.21.1
In this post, you will learn how to install Iris Shaders 1.21.1 for Minecraft! To get started, open up your Minecraft Launcher, and select the Latest Release, or any other version you want to install shaders for. Make sure to launch Minecraft on that version once, before trying to install Iris Shaders and Sodium, or it might not work.
Once you’ve made it to the main menu of Minecraft, click Quit Game. Now it is time to download Iris Shaders from the official website, which is listed down below.
📦 Download Iris Shaders and other programs:
Iris Shaders : https://irisshaders.dev/download
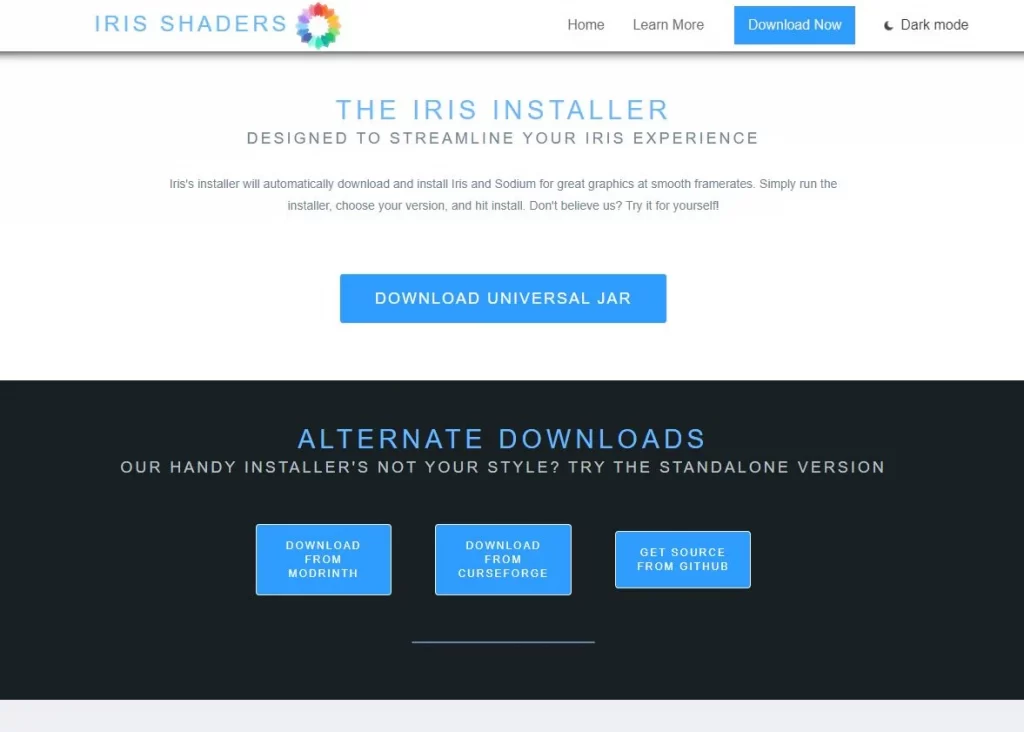
Once on the website, click the Download Universal Jar button. Now you may see a warning with the download, stating that .jar-files may be harmful to your PC. If you’ve used the link listed above, you can just click Keep. Now the Iris Shaders file should have a Java icon, but for many people it doesn’t have that.
If the Iris Shaders installer doesn’t open with Java, try downloading Jarfix, execute that program and see if it fixes anything. If it tells you to go download Java, because it couldn’t find Java on your PC, use the second link down below to Java.com.
📦 Jarfix and Java:
Jarfix 3.0.0: https://johann.loefflmann.net/en/software/jarfix/index.html
Java: https://www.java.com/en/download/
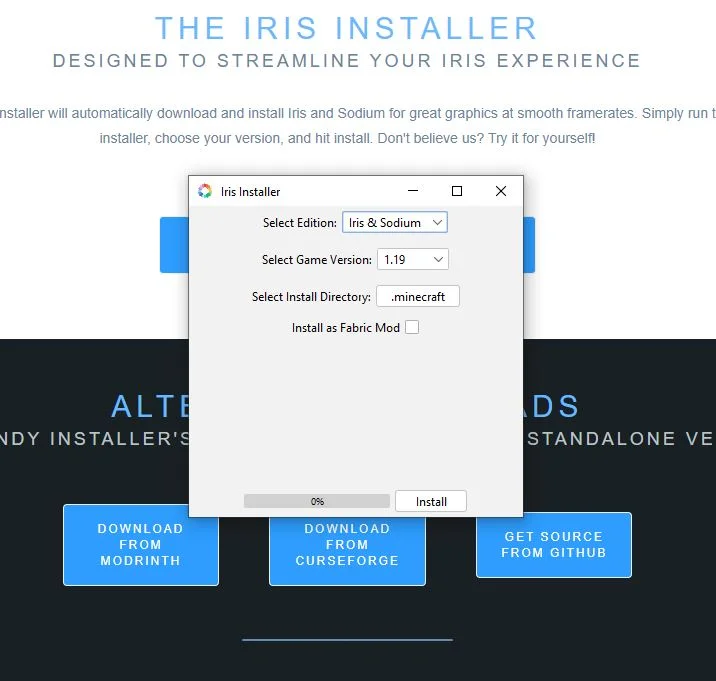
Now that we’ve fixed Java issues with the installer, it’s time to open the Iris Shaders installer and install it. Simply open the installer and click Install. After a few seconds, it should say “Installation Succeeded” in the bottom of the installer.
Download Shaders for Minecraft 1.21.1
And now it’s time to download the actual shaders! If you’ve already found your favorite shaders, go over the Download section on that page. Here, click the ‘Download [Shaders name] for Minecraft 1.21.1‘. For this tutorial, we’ll use Complementary Reimagined.
🌞 Complementary Reimagined Shaders:
Download: https://shaderpacks.net/complementary-reimagined/
Once you’ve downloaded the shaders, do NOT unzip or unpack the file. Navigate to your search bar and type in %appdata%, and click the folder that appears, or hit Enter on your keyboard. Among all the folders you see should be a folder called .minecraft. Click this folder. If this is your first time installing shaderpacks, you want to right-click and create a new folder called shaderpacks, all lower case. If you already have this folder, just add Complementary Reimagined or any other shaderpack you like to the folder now.
You’re all set! Open up your Minecraft Launcher, make sure it selects the Iris Shaders & Sodium profile, which it should be on by default. Now click Play and wait for the game to launch. Once you’re on the main menu, navigate to Options > Video Settings and click the ‘Shader Packs’ tab. Over here, find the pack you just added, and just click its name. This will load it and apply it to Minecraft.
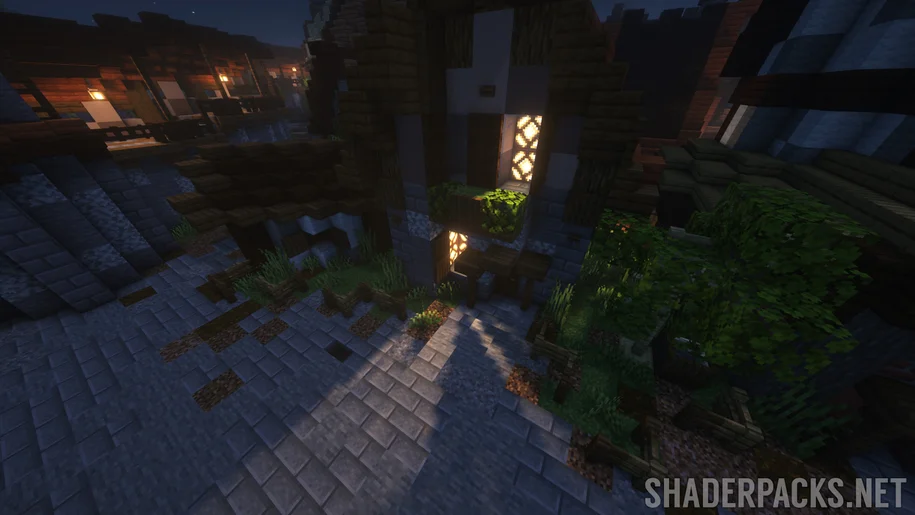
That’s it, you’re done! Hop into a world or server and enjoy the beauty of your brand new shaderpack!


Pingback: Super Duper Vanilla Shaders 1.19.2 / 1.18.2 > 1.13 - Shaderpacks
Pingback: KappaPT Shaders 1.19.2 / 1.18.2 > 1.16.5 - Shaderpacks
Pingback: Vaporwave Shaderpack 1.19.2 / 1.18 > 1.12.2 - Shaderpacks
Pingback: DOF Shaderpack 1.19.2 / 1.18 > 1.10 - Shaderpacks
Pingback: Complementary Reimagined 1.19.2 / 1.18.2 > 1.14.4 - Shaderpacks
Pingback: Overimagined Shaders 1.19.2 / 1.18.2 > 1.14 - Shaderpacks
Pingback: Sunflawer Shaders 1.19.2 / 1.18.2 > 1.8.9 - Shaderpacks
Pingback: Prismarine Shaders 1.19.2 / 1.18.2 > 1.12 - Shaderpacks
Pingback: Photon Shaders 1.19.2 / 1.18.2 > 1.16 - Shaderpacks